What are Geographic Regions used for?
Geographic regions allow you to specify portions of your service area not defined by a city or zip code. This can be used to identify specific counties, developments, neighborhoods, service areas, etc. Using geo. regions can speed up adding customer information to the program. You can also use Geographic Regions to narrow down reports to cover specific customers only.
How do I enter Geographic Regions?
- Click .
- Type the name of the geographic region you’re creating and hit Enter.
- A pop-up window will inform you that you’ve entered the name of a new region and ask you to confirm whether you want to Add This Name; click .
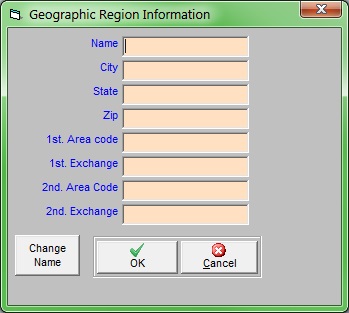
- You can choose to enter a city, state, zip code, and/or area code and phone exchanges to further define this service area.
- Click to save your changes.
How do I change the name of a Geographic Region?
- Click and select the appropriate Geographic Region.
- In the lower-left corner of the window, click . You can now edit the Geographic Region's name.
- Click to save your changes.
To add a Geographic Region to a customer’s account:
- Open the customer window.
- Go to the Misc. tab of the customer window.
- Enter the name of the Geographic Region in the Geographic Regions box and hit F2 to select.